City fonts
Organising institution:
Modern Poland
Country:
Poland
Age:
14-15.
Key question:
How to talk about your city and discover it using new technologies?
Objectives:
- Focus on the neighbourhood.
- Plan route of a walk using school competencies and applying them creatively with new technologies.
- Experience city space with different senses - recording sounds and taking pictures with smartphones.
- Promote being open to others and curious about their work.
- Gain competencies of using programmes and apps.
Time:
6 hours.
Software and apps to be used:
mentimeter.com, app Prisma, app PicPac, smartphones, onthegomap.com, maphub.net, app Pixlr, app Easy Voice Recorder, laptops.
Brief presentation:
The main goals of this DA are to help participants discover their local area, strengthen their identity and create the image of their place of residence. At the same time, using new technologies, they discover unique fonts of the city. All of the activities are connected with apps which are used to create a map and animations.
Topics covered:
- identity,
- new technology,
- city changes.
Preparation of space for the Atelier:
You need a room with a screen, projector connected to a computer, internet and a printer. Prepare tables that can be used for group work (for 4-5 students), each should have a laptop and internet connection for students’ use. Make sure you have enough space in the room to move around.
Materials needed:
- Computers for groups,
- Participants’ smartphones,
- Pencils and flimsy paper.
Main inspirations taken from personal research:
- Typography,
- Creation of maps,
- Ed Fairburn and his New Cut and Contoured Map Portrait: https://edfairburn.com/,
- Katarzyna Józefowicz and her paper tablecloth: http://zbrojowniasztuki.pl/pracownice-i-pracownicy/obecne-dydaktyczki-i-obecni-dydaktycy/katarzyna-jozefowicz,690.
Mass media and social media connections:
Discovering how technology allows to interpret photos of city space in an artistic way and using painting techniques. Deciding on the criteria for choosing the most attractive photos (how to choose 7 from all the photos taken individually). Using technology to collectively design a walk route.
How do you plan to give voice to students to present or show their personal skills and knowledge?
Working in groups allows students to become aware of and use extra curricular competencies. What is more, when using active methods of work, students realise their own competencies and learn to recognise and name them.
How do you collect information as the starting point of a Digital Atelier?
The form “What don’t you know about me”, as long as there is enough time and you have a good contact with the group, e.g. if you plan a cycle of activities with one group or you can use time before the DA to diagnose group’s skills. The diagnosis should be followed up by a post-test carried out after the project. Alternatively, you can collect information during a conversation about editing photos and using (and creating) maps.
Introducing students to the key question - the research begings:
Put a city plan or a map of the local area in a visible place in the room. Invite participants to mark with pins places they live in and other places which are important to them. Ask the question: how to talk about your city and discover it using new technologies?
Experimental phase
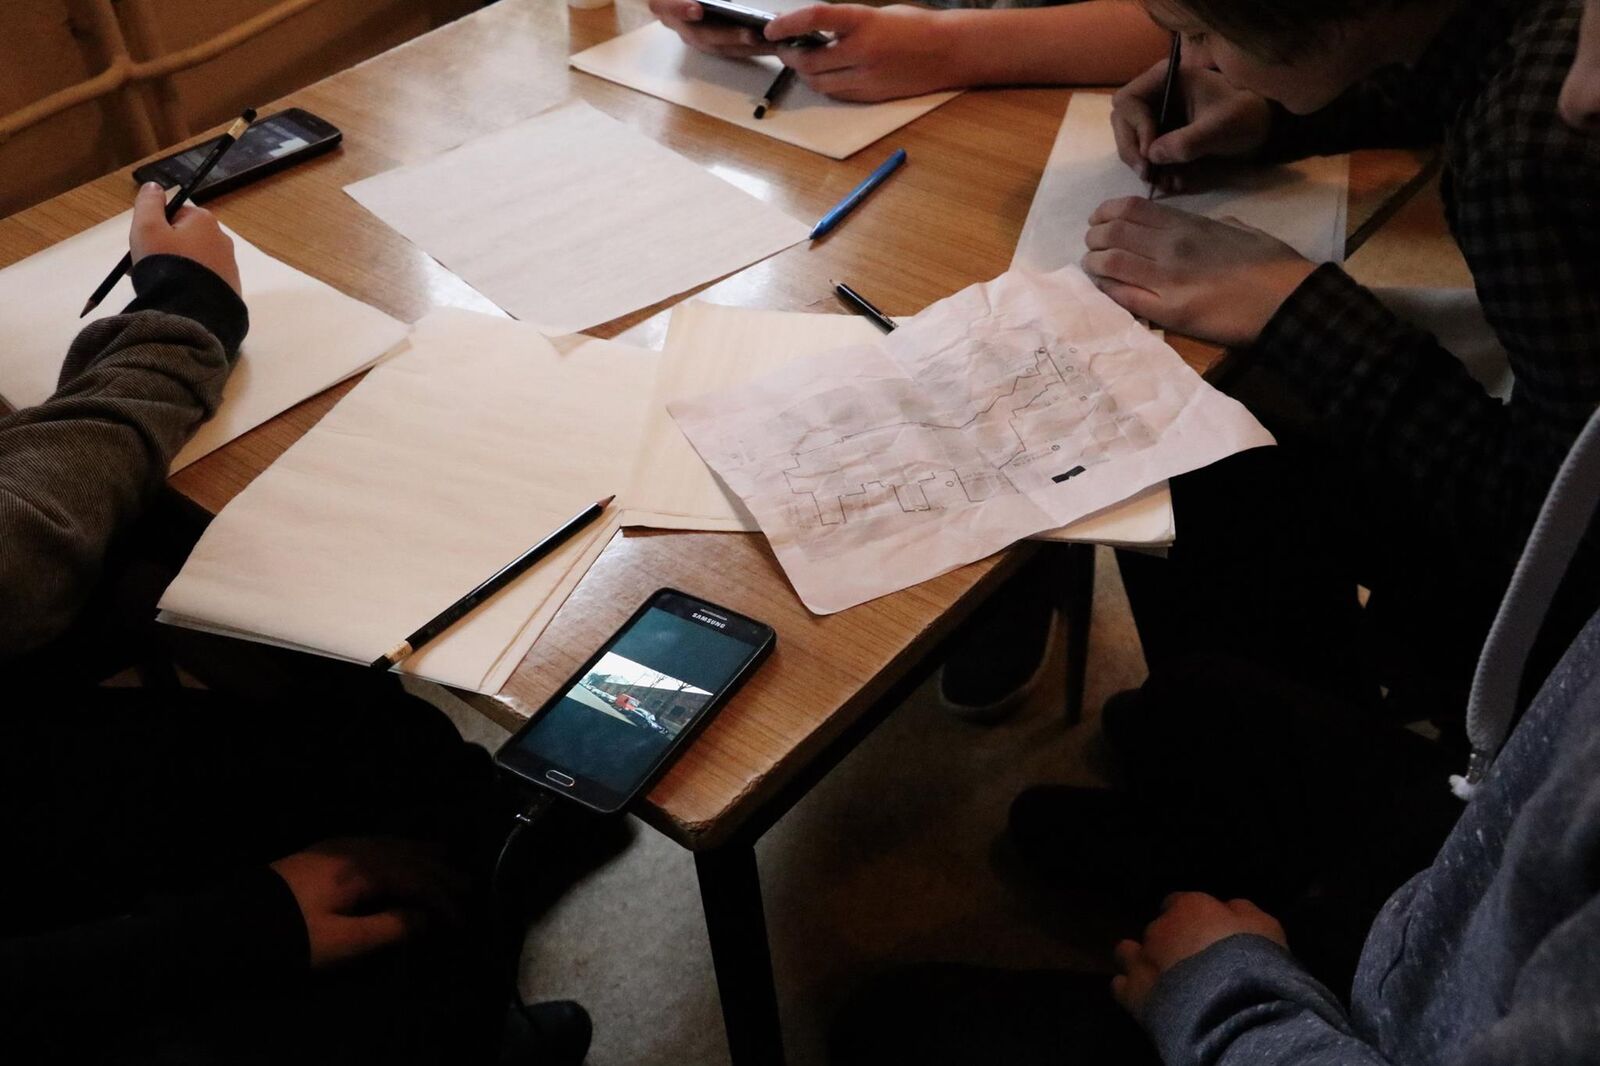
- Action that unfolds the practical activity to clarify the question: Divide the group into smaller teams (4-5 persons). On a big screen seen by everyone explain how to use onthegomap.com – the key is to plan a route of the walk by choosing points on the map and distances between them.
- Active work of the students: The task for the participants is to create a route of a one hour walk in the local area, which will allow them to take photos of interesting places. Each team decides where to go, the only limit is time: 1 hour. After deciding on the route, the teams prepare maps and send them to you. Each team receives a print out of their route. Allow participants to go for a walk so they can test the route they created. The task for each team is to observe the area carefully. Each participant should take with their smartphone a photo of 3 places they find interesting during the walk. Using Easy Voice Recorder app they should record sound of each place where a photo was taken (a few seconds).
- Presentation of findings and results (visualisation of information): After coming back from the walk encourage participants to share their impressions using mentimeter.com. Ask: how do you feel after coming back from the walk? When the answers are visible on the screen spend some time talking about them. At this time it is important to focus on emotions and impressions collected during the walk. Do not present photos and recordings just yet – you will use them later.
- Analysis of results: Participants reflect on their activities and impressions.

Project/design phase - part 1
- Second action that unfolds the practical activity: How to express atmosphere of a chosen place through creative activity?
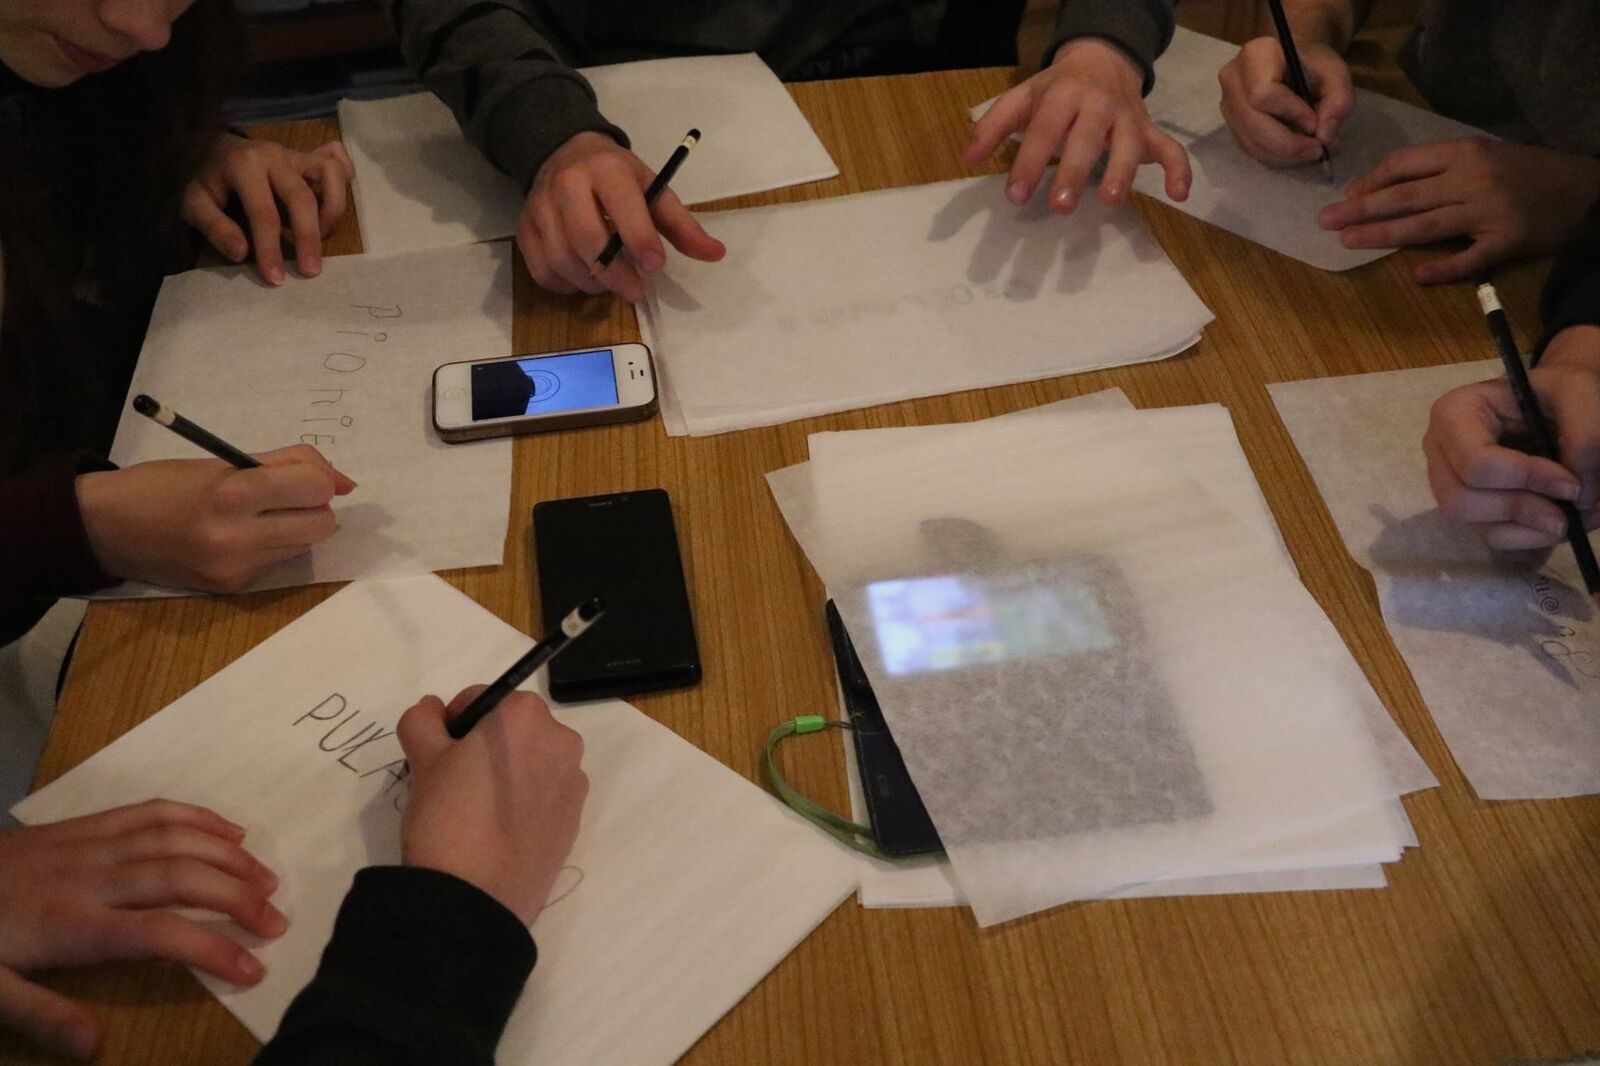
- Active work of the students: Invite the participants to work individually. Give each participant 20 sheets of flimsy paper in A6 format. Ask the participants to focus on one place which attracted their attention during the walk. Highlight the fact that it is their subjective choice and encourage them to identify feelings that are connected with this place, e.g. joy, amusement, surprise, disappointment, embarrassment, disgust. Say that all these feelings are valued and important. Ask the participants to write down on the first sheet of paper the name of the street, where this place is located. They don’t have to make it look ‘nice’, there are no rules or expectations (this is important to unblock creative potential of students), however the sign should be big and clear. The rest of the process is an exercise based on typography, which is choosing fonts to achieve coherent graphic design. By putting sheets of paper on top of one another, the participants “redraw” the name of the street in a way that, bit by bit, the letters transform into a visual recording of emotions and impressions connected with this place. The only limits in this exercise are the number of sheets of paper (min. 20, as they will be used for a stop motion animation) and time. Explain how to use PicPac app. The next task will be to create a stop motion animation using smartphones. Take a photo of each drawing individually, not putting one on top of another. Place a blank piece of white paper underneath and make sure the light is sufficient and stable. Make sure the order of the drawings is correct – from the first to the last one. PicPac app is an excellent tool for creating first stop motion animations, because every photo leaves a “shadow” on the phone’s screen, which makes it easier to frame the next one precisely. What is more, the photos are put together automatically, so the result is visible instantly. When the animations are ready, add the sounds recorded during the walk. Participants send their work to you.
- Presentation of findings and results (visualisation of information): Presentations of animations created by the participants.
- Analysis of results: In this part you use young people’s interest in trying new apps, their openness and courage of experimenting. A smartphone, an object of everyday use, enables creative activity. Participants learn how to create stop motion animation and that even a short video requires effort and concentration.
Project/design phase - part 2
- Third action that unfolds the practical activity: How to create a subjective local guidebook using ICT tools?
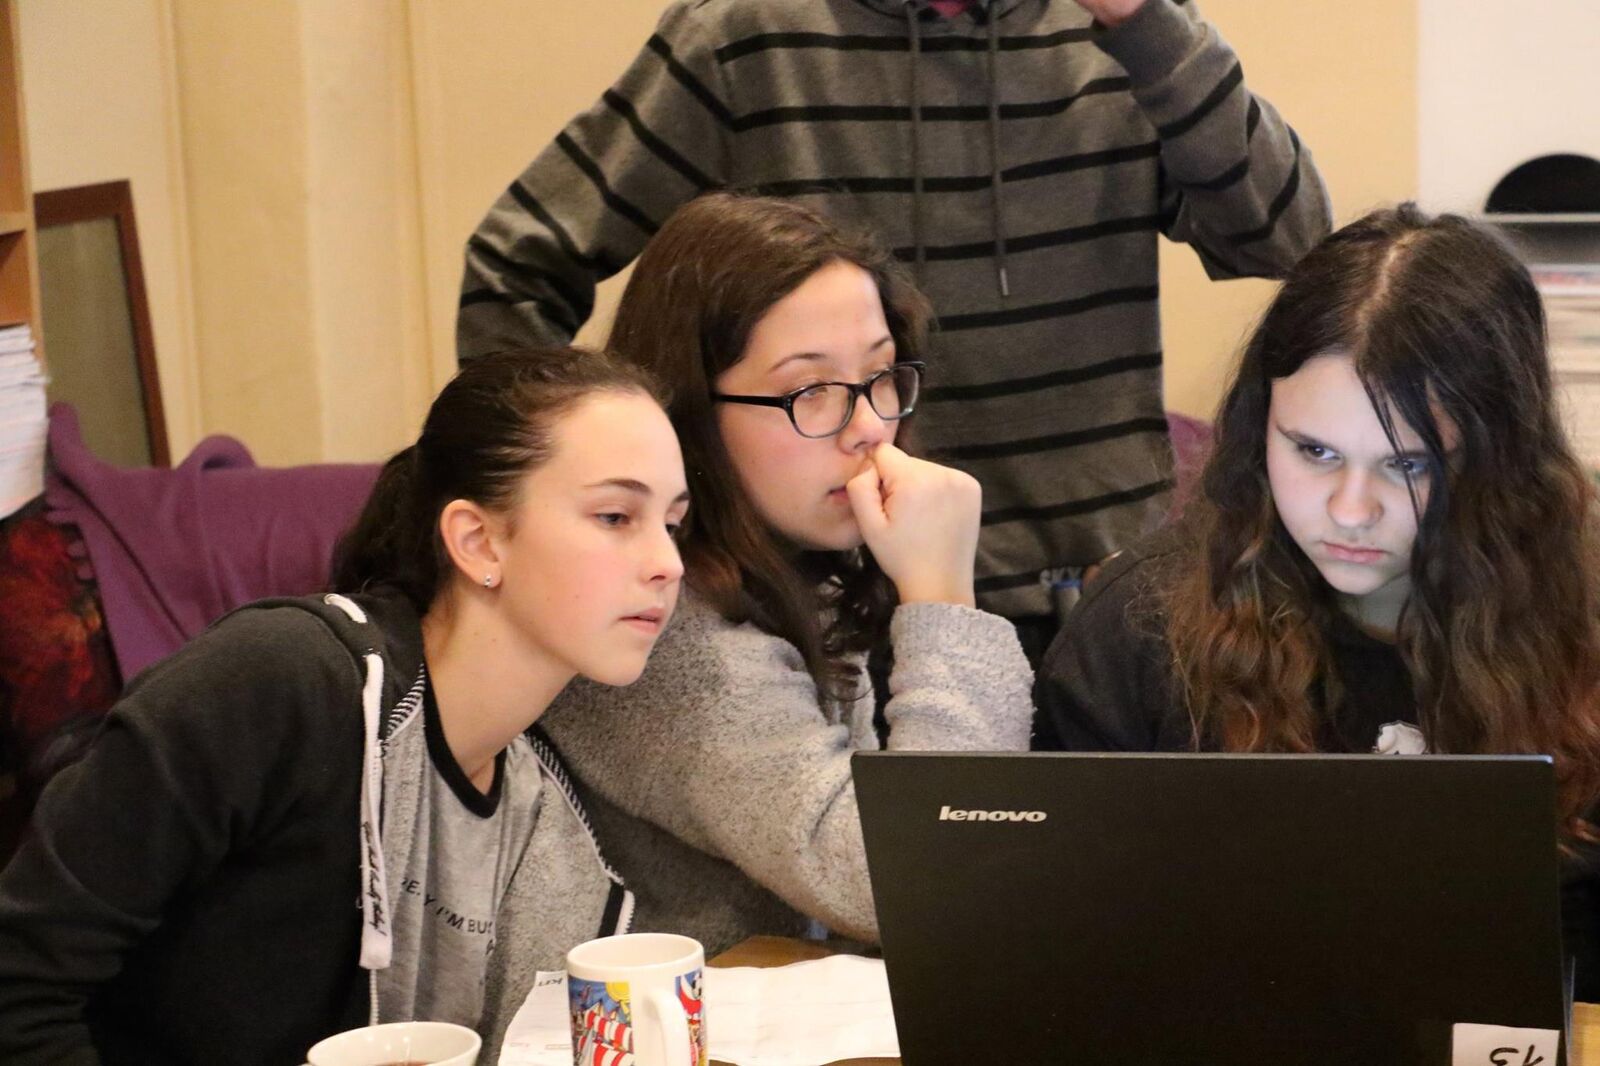
- Active work of the students: Encourage students to install Prisma app, which allows to edit photos by using different filters, which represent different styles. Each participant chooses 3 photos, from these taken during the walk, and edits them choosing style matching the atmosphere of the place and mood of the photographer. Once finished, participants save photos on the team’s desktops. Participants go back to work in teams they went for a walk with. Each team decides which photos are the most attractive. They choose 7 photos. Introduce the students to maphub.net program, which allows to create maps and mark certain places with pins. Each team finds the area of their walk on the world map and marks their route. They put pins in places they discovered and are presented on the photos and describe them. These virtual maps can be shared with others. Each team makes a print screen of their map and saves it on the desktop. In the next step they learn how to use pixlr.com. The participants can work on a laptop or use free app on their smartphone. Pixlr allows to edit photos, it is very intuitive and learning its basic functions takes 5 minutes. For editing collages of photos we recommend Pixlr Express. Choose collage layout with one field in the center and space for additional 7 photos. Each team puts the map in the center and the rest of the photos edited in Prisma around it.
- Presentation of findings and results (visualisation of information): Presentation of collages of maps and photos. Summary discussion.
- Analysis of results: Young people share their thoughts using Mentimeter (finish off the statement “Today I learnt...”).
Approach to a new software or a new app:
In this Digital Atelier we used Prisma, PicPac, Pixlr, maphub.com and ontthegomap.com. The students explored them in individual work or in small groups. Some students were already competent and participated actively in the design and co-realization of the activity. There were no frontal explanations, students were left with the responsibility of solving technical problems with the materials available.
Links between the Digital Atelier and real life of the students:
Taking part in this Digital Atelier encourages:
- reflection on building connection with a place of living,
- engaging in social relationships – conversations, discussions, collective decision making,
- improving communication skills,
- learning how to use paper and digital maps, planning routes,
- critical view on the results of own work (photos taken) and the world around us.
How do you plan to evaluate knowledge and skills?
The most important is to observe students and encourage their own reflection on their activities. Final products and results are secondary in relation to the process itself – students’ activity. Students have a chance to challenge themselves, which allows them to develop their competencies, especially in the area of social skills.
Conclusion:
In this DA we started with digital, rather than manual, activities. This experiment allowed us to realise that it is not the order that matters, but the connection between digital and manual work. During summary discussion students said that what they valued the most was team work, going for a walk together, discovering places and getting to know their city. A few persons mentioned that they learned some names of the streets. A low point was the time (not enough, according to the participants) – they would like to spend more time on walking, drawing, taking photos, discussing and working together.
The publication was created as part of the project: APP YOUR SCHOOL.
This publication reflects the views only of the author, and the Commission cannot be held responsible for any use which may be made of the information contained therein.